
.png)

As per Microsoft, if you have only Windows pro or pro N edition you can only able to use Hyper-V. If you have Windows Home edition, you can not use Hyper-V. Is that right? My answer will be 'NO'. Most of the common users actually use Windows Home edition. And if you tweak your system a little bit you can able to use Hyper-V in your Windows Home edition.

What is Hyper-V?
Hyper-V is a Windows feature that will allow you to create virtual machines. We normally use Oracle Virtual Box or Vmware for creating the virtual machine. But most of the company use windows default feather Hyper-V to create the virtual machine.
How you can enable Hyper-V on Windows 10/11 Home Edition?
1. Download this bat file from this link.
2. Right-click on the bat file and run as an administrator.

4. After completing downloading and installing, you can close the CMD window and open Control Panel > Programs > Turn Windows features on or off

5. Check on the Hyper-V feature.

How you can create a virtual machine using Hyper-V?
1. Search Hyper-V Manager on your windows search menu.
2. Open the Hyper-V Manager app.
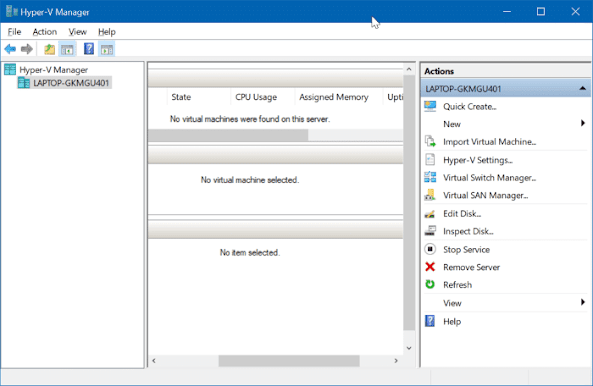
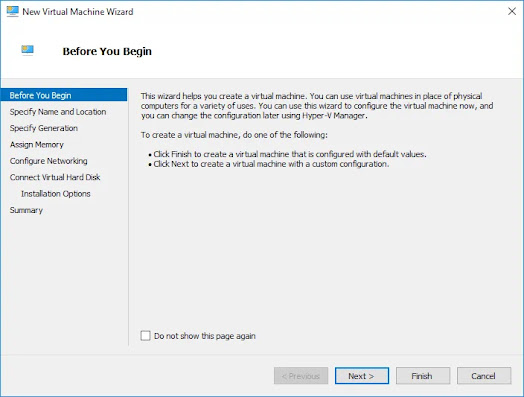
3. Now right-click on your computer name on the left side then New > Virtual Machine >Next

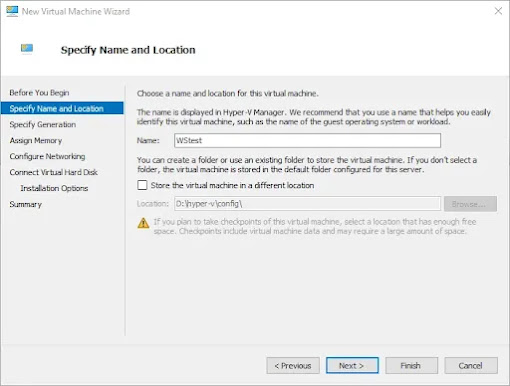
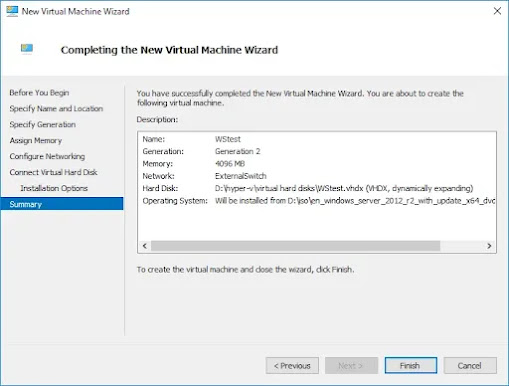
4. Give a name for Virtual Machine
5. Choose Generation 2 if you want to install a newer version of the operating system.

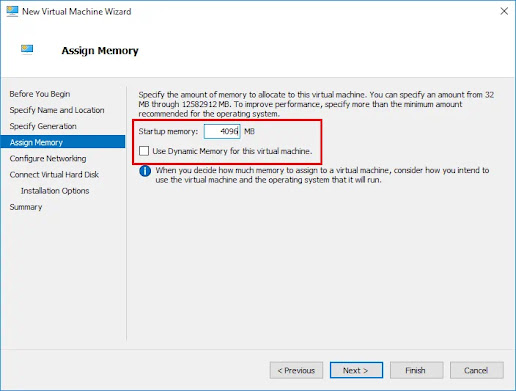
6. Allocate the RAM size for this virtual machine
7. For Network configuration choose the Default switch for now. We have to change it later.

8. Chose Virtual disk size and location

9. Choose your operating system's physical path. Then Next > Finish.

How you can configure your network for the virtual machine?
1. Click on Virtual Switch Manager from the right side. Then choose External > Create virtual Switch > Ok

2. Provide a name for your switch. Then choose your network adapter and click OK.

3. Now go back to your virtual machine and right-click on the newly created virtual machine and select Settings.

4. Select Network Adapter > Choose the newly created virtual switch from the dropdown menu > Ok

5. Done !!! You have successfully created a virtual machine using Hyper-V on Windows 11 Home edition. Now right-click on your virtual machine and Start.
